Creating an Electronic Signature
An electronic signature, or e-signature, is a way to get consent or approval on electronic documents or forms. There are several ways to accomplish an e-signature, and a couple ways are described below using a Mac or an iPad/iPhone.
On a Mac: Use Preview
The Preview application included with macOS has integrated document-signing features. Thanks to the excellent trackpads built into MacBooks, you can actually draw your signature on the trackpad with one of your fingers to enter it into Preview.
Preview app icon:![]()
You could also just sign a piece of paper and “scan” it with your webcam, if you prefer creating your signature the old-fashioned way (or if you have an iMac with no trackpad)
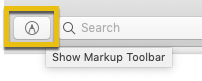
To sign a document, open a PDF document in Preview (this should be the default app that opens when you double-click on a PDF file, unless you’ve changed it). Click the pencil -shaped “Show Markup Toolbar” button (in previous verisons this icon was toolbox-shaped).
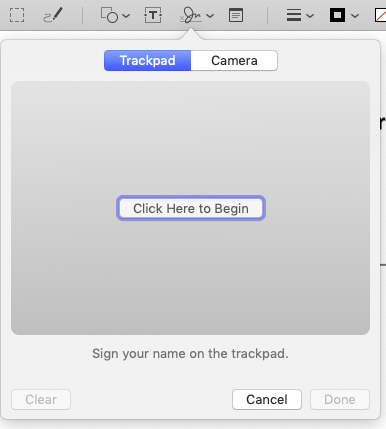
Next, click the “Sign” button on the toolbar that appears.

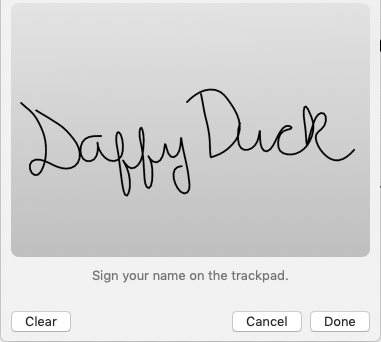
You’ll be prompted to either create a signature by dragging your finger over the trackpad, or by signing a piece of paper and scanning it with your webcam. If you don't like the signature you created, you can click on the clear button to start over. Capture your signature once and Preview will remember it for the future.
Once you’ve captured a signature, you can select it in the menu that appears after you click the “Sign” button.
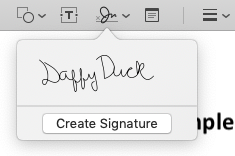
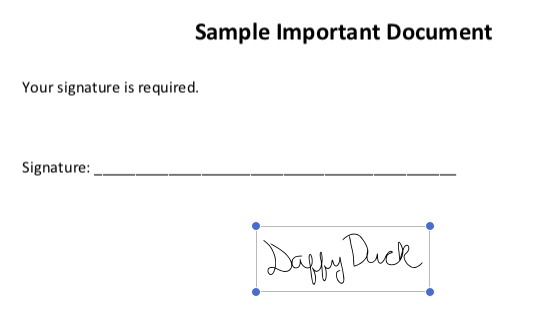
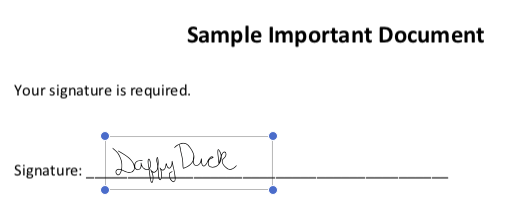
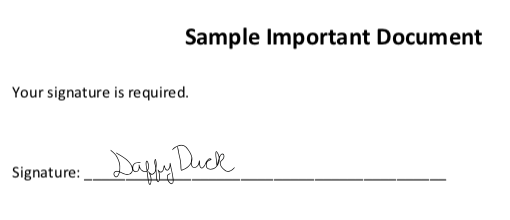
Your signature is applied as an image that can be dragged around and resized to fit the document.
The other options on the toolbar allow you to type text and draw shapes on the document, allowing you to fill in forms, if necessary.
When you’re done, click File > Save to save the PDF, applying your signature to the file. You can also click File > Duplicate instead to create a copy of the PDF and save your changes into a new copy of the file without modifying the original.
On an iPad or iPhone: Use Mail
On an iPhone or iPad, you can sign documents using the markup feature in the iOS Mail app.
This feature is convenient, but it only works if you want to sign documents in the Mail app. For example, you may be emailed a PDF document and you may need to sign it and email it right back.
To do this, you’ll need to receive an email with a PDF file attached. Open your email and tap to download the PDF attachment.
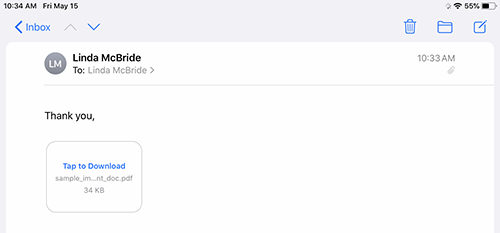
Once the item has been downloaded, you will see it appear within your email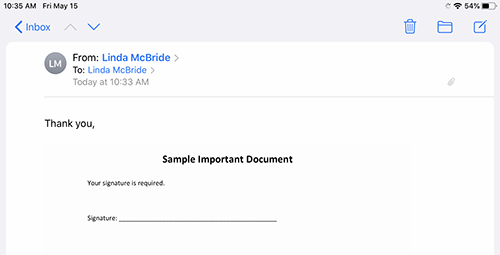
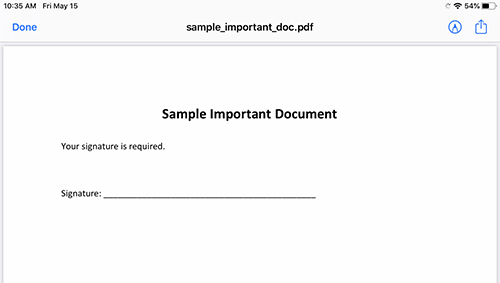
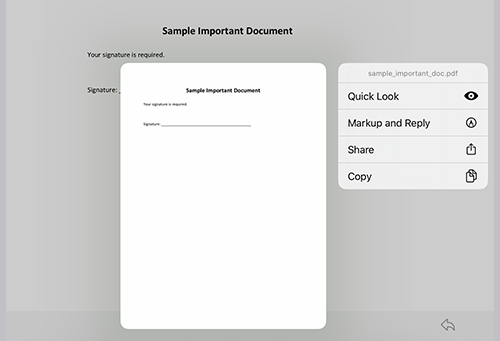
Tap on the document to open it, OR press and hold the document to get the "Markup and Reply" option to display.
Next, tap on the Pencil icon to display the markup tools.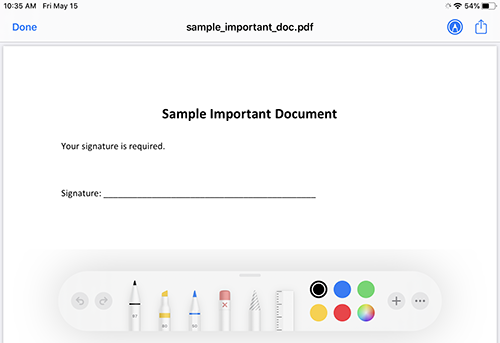
Tap on the + icon, to display more options, and click on Signature.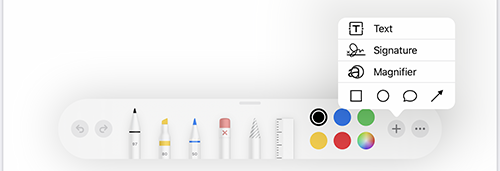
Next, create your signature with a stylus, or your finger.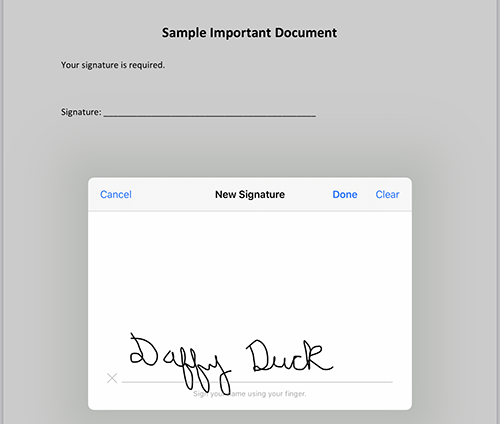
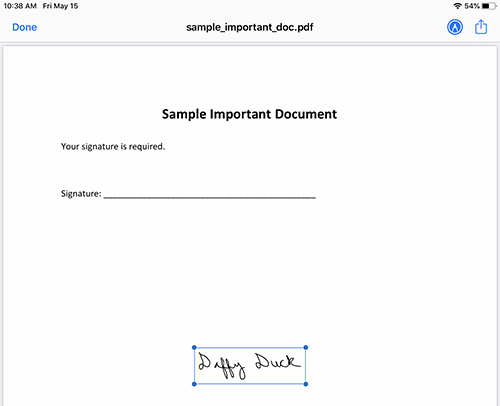
Now drag your signature in place.
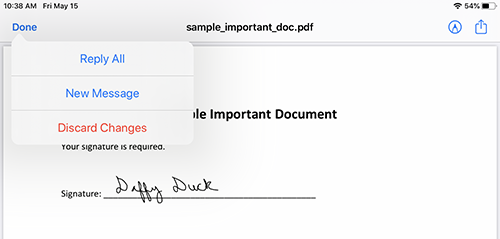
Lastly, you can choose the send button to select a variety of options. Or you can select the Done link, to reply to the email you are currently viewing.
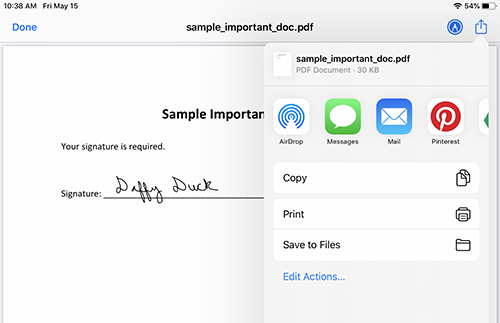
When you tap “Done”, the Mail app will automatically create a reply to the email with your signed document attached. You can type an email message and then send the signed document.
While this is convenient, it only works in the Mail app, so it is very limited. If you want to do this from any other app, you’ll need a third-party signing app.