Backing Up Notability Notes
Google Backup
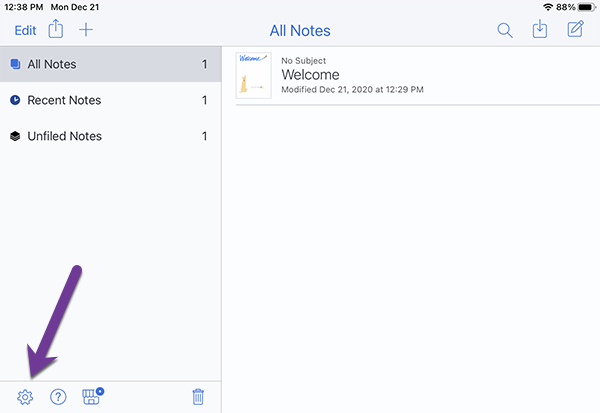
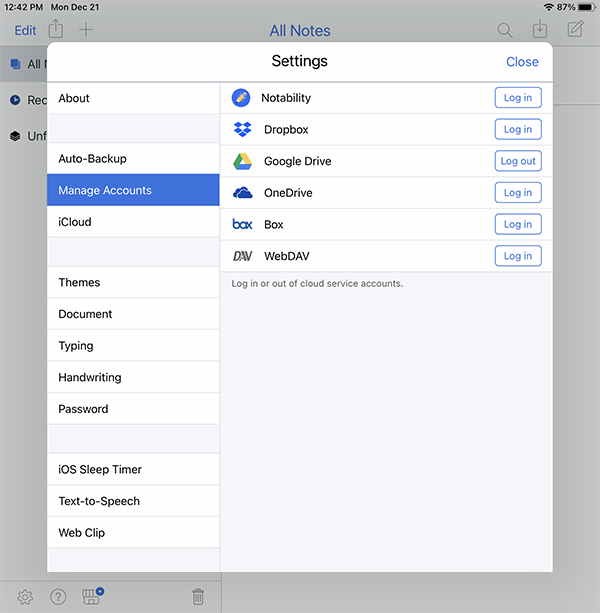
- Open Notability and tap on the Settings gear icon in the lower left corner.
- Tap on Manage Accounts
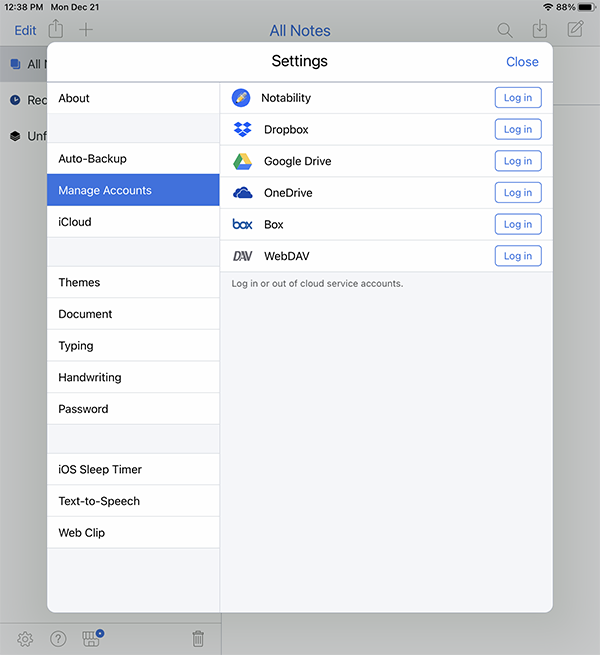
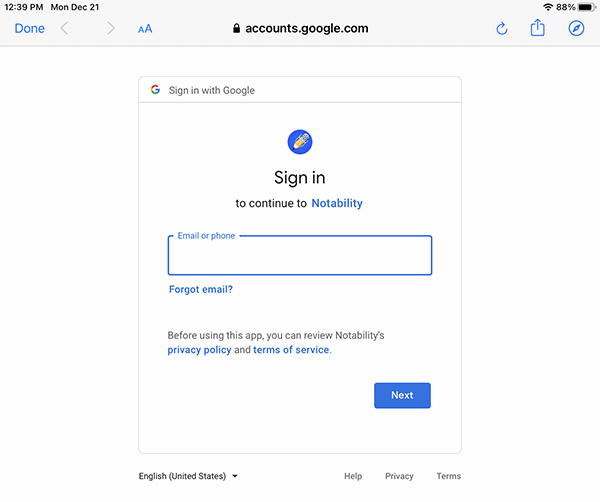
- Next, tap on the Log in button for Google Drive. You will be asked to enter your SLUH email address and password.
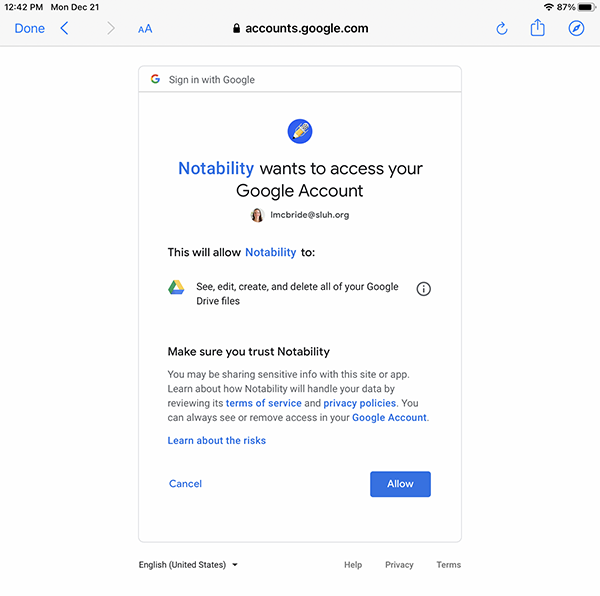
- Tap the Allow button to provide Notability with access to save notes to your Google Drive account.
- You'll notice in Settings now that the button next to Google Drive says "Log out" to indicate that you are signed in.
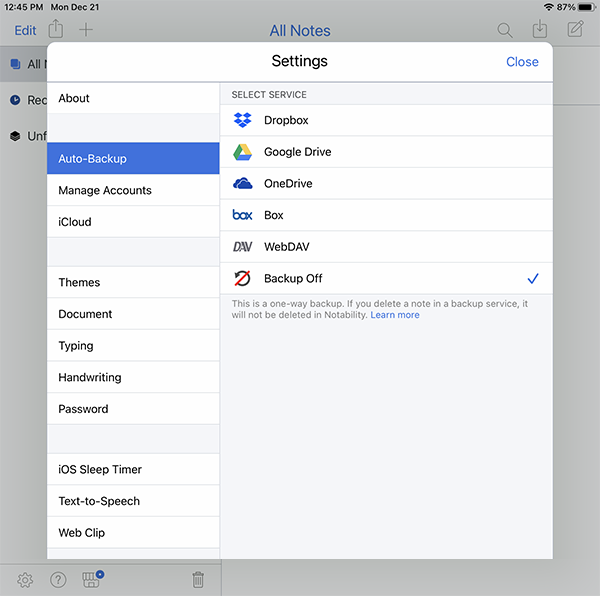
- Tap on the Auto-Backup tab, then tap on Google Drive.
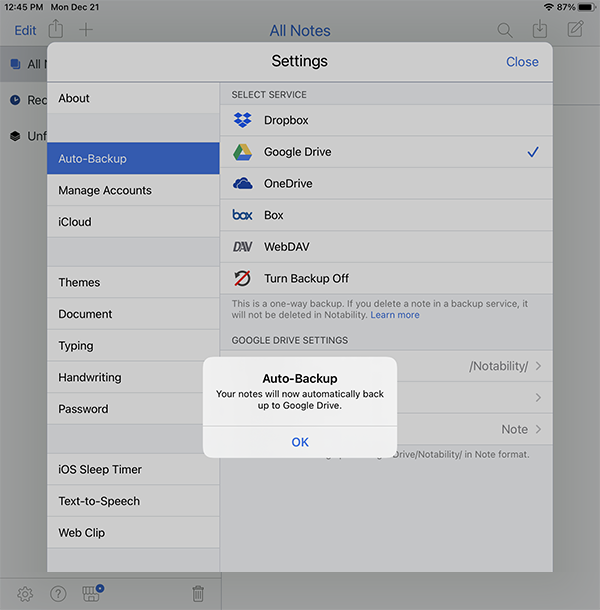
- Tap OK to confirm that you want your notes to Auto-Backup to Google Drive.
- Leave the Destination as the default /Notability/
Subjects to Back Up - If you have your notes housed in multiple folders within Notability, then you can choose which folders to back up here.
The File Format should be Note (so you can continue to edit this document)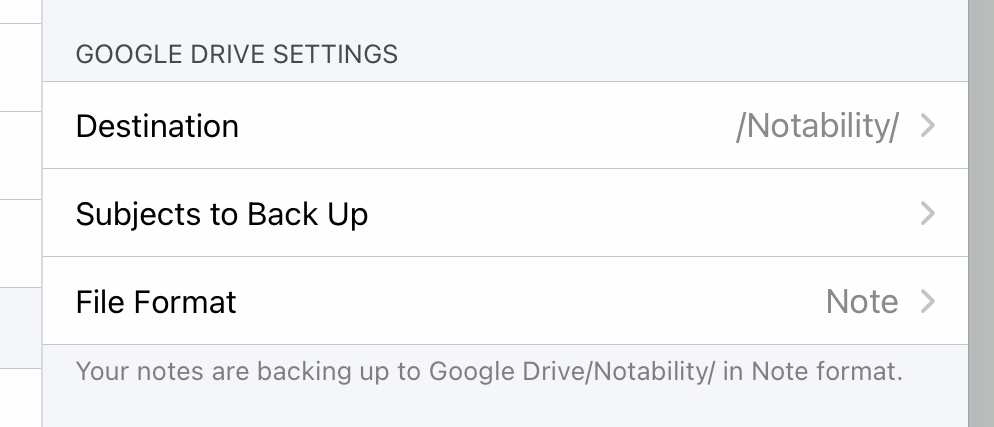
- Close
iCloud Backup
Storing your notes in iCloud keeps them up to-date across all of your devices. If you delete a note, it will be deleted from iCloud and your devices.
- Open Notability and tap on the Settings gear icon in the lower left corner.
- Tap on the iCloud tab.
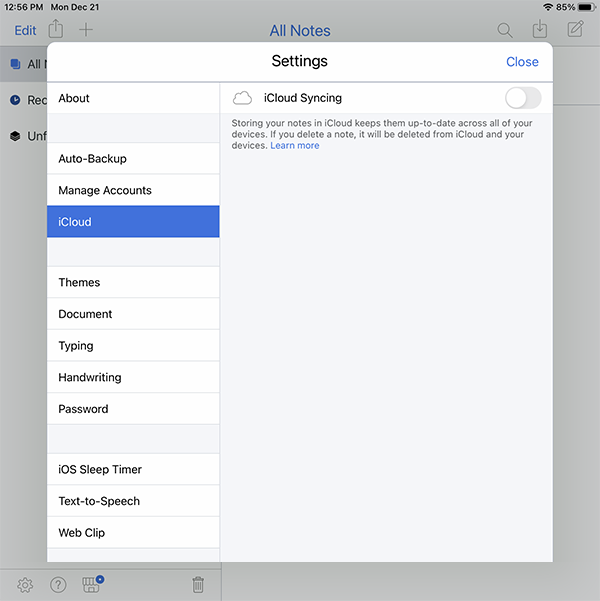
- Toggle the iCloud Syncling button to ON, It will go from being clolored gray, to blue and provide the following pop up text to show that you are now backing up to iCloud.
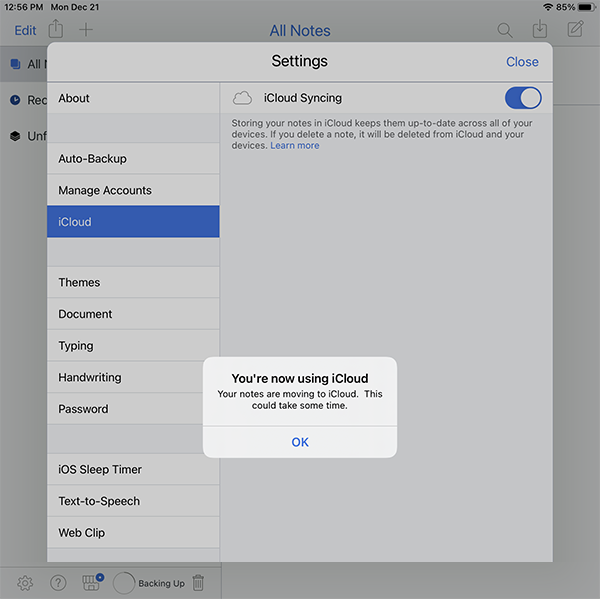
- Tap OK to begin the back up. You'll see that the iCloud Syncing button is toggled ON, colored in blue.
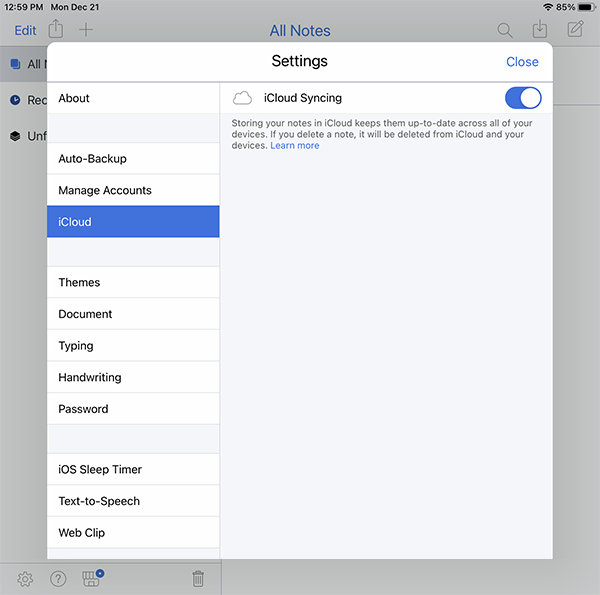
- Close the Settings.
Your Notes will now automatically sync with iCloud.