Creating a Contact Group in Gmail of a Select Group of Students
This support article will help you create a contact group (also known as labels in Google) consisting of a select group of individual students as opposed to by class rosters.
There are many options to accomplish this task.
Option 1
- Click on the Compose button as if you are composing a new email. Within the "To:" line, start adding the names of all of your students. As soon as you start typing a student's name Gmail's autocomplete will fill out the names as you go.
- When you are done, highlight all of the addresses on the To line (click in that area and type command-a) and copy them to your clipboard (command-c).
- Next, paste these names into a new Excel document and save the file as a .CSV document.
- In Gmail, open Contacts, and on the left hand column click on "Import"
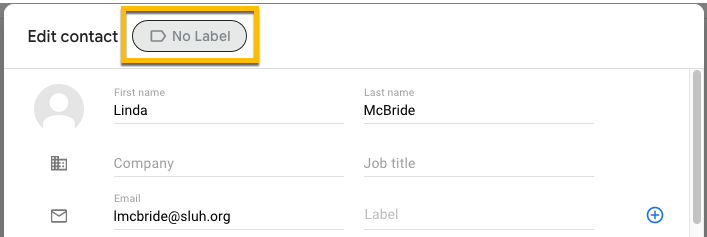
- Click on the "No Label" button at the top.
- Next, click on New Label and give your Contact List (Label) a name.
- Then click on the Select File button and choose the CSV file you saved.
- Repeat these steps for your subsequent classes/homeroom. Once complete, you can simply type the Contact Group name in the To: field of an e-mail message, and the addresses should populate the field.
Note: Any students that add/drop courses after the beginning of the semester should be adjusted in your Contact Group manually.
Option 2
- Click on the Compose button as if you are composing a new email. Within the "To:" line, start adding the names of all of your students. As soon as you start typing a student's name Gmail's autocomplete will fill out the names as you go.
- When you are done, highlight all of the addresses on the To line (click in that area and type command-a) and copy them to your clipboard (command-c).
- Now, open Google Contacts.
- Click on the Create contact button located at the top left.
- Choose Create multiple contacts.
- In the window that opens, paste the email addresses that you copied in step 2 into the email field.
- At the top, there is a button to select a label or tag. The button will most likely say "No Label." Click on the button and choose to either place the contacts in an exisitng label (or contact group), or create a new label. Once you type a name for a new label, hit the return key. Then click anywhere outside of that box to accept it. You should now be looking at the create multiple contacts box. If everything looks good, click Create.
- These contacts should now be listed in this new label/tag.
- Repeat these steps for your subsequent classes/homeroom. Once complete, you can simply type the Contact Group name in the To: field of an e-mail message, and the addresses should populate the field.
-
Note: Any students that add/drop courses after the beginning of the semester should be adjusted in your Contact Group manually.
Option 3
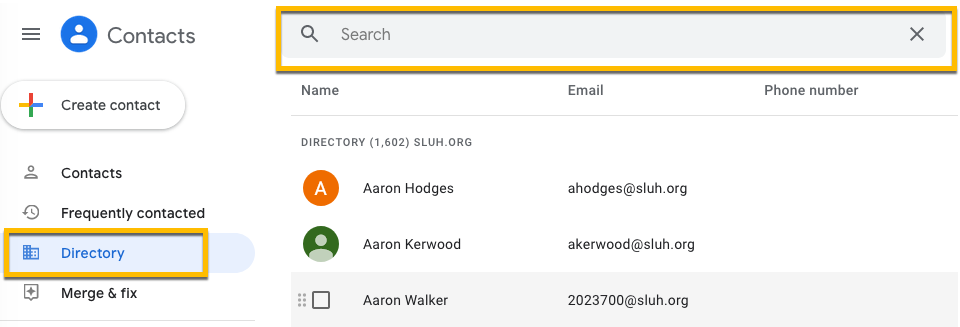
Another way to add contacts to a contact group (or label) is to go into Contacts and click on Directory (located on the left column).
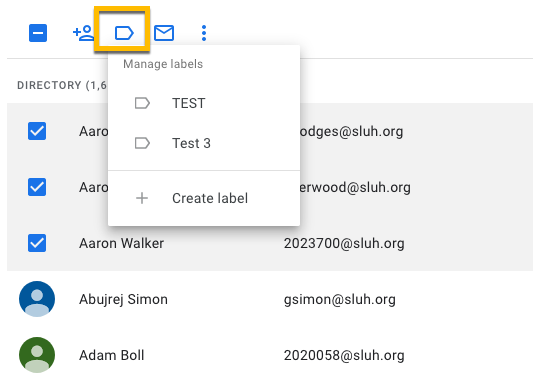
Hover over the user you want to add to your label (or group) and check the box next to each student name that you would like to add to your group. Then click on the "Manage labels" button and select an existing label that you had created or choose Create label.
Alternatively, you can do a search for a user within the Directory. Once you find the user you are looking for, you can add them to a label by selecting the label of your choice.
Once the user you hav searched for opens, click on the edit icon.
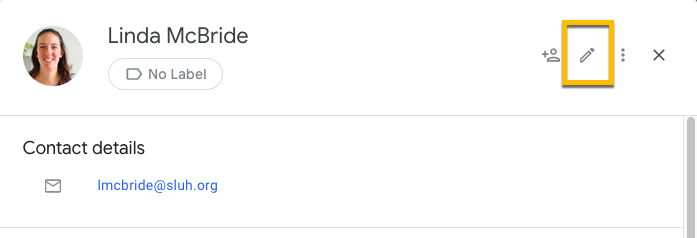
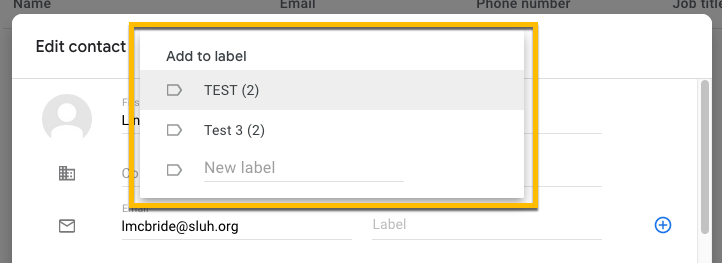
Then click on the "No Label" button.
Choose an existing label, or create a new one.